Autopilot LiveChat: automate your customer follow up’s and grow the list of your Autopilot Contacts straight from the chat! With the easy installation process, you will make sure that none of your hot leads will get lost in the crowd.
- How does it work? - learn how the Autopilot integration works;
- Installation - learn how to integrate LiveChat with Autopilot.
Autopilot LiveChat: how does it work?
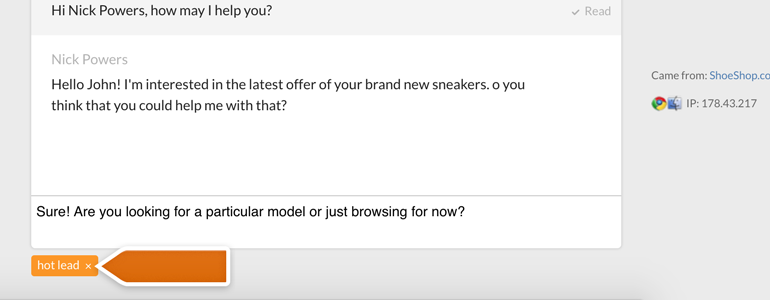
Autopilot integration can detect that you have tagged a chat with your customer. And not just any tag: LiveChat will trigger the integration only when it will recognise a tag specified in Autopilot.
How to specify a tag on Autopilot? We’ll get to that in the Installation part of this tutorial.
After tagging a chat with your customer, LiveChat will automatically add him as a Contact to your Journey in Autopilot, sending him an automatic follow up based on your Journey settings. What’s more, you can pre-define to which Journey your new Contact should travel.
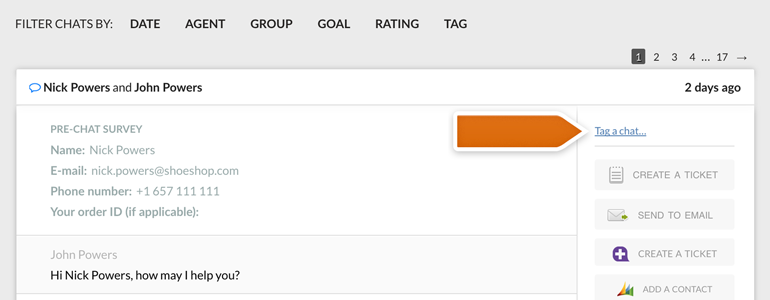
In addition to concurrent chats, you can tag your archived conversations as well! To do that, go to the LiveChat’s Archives, choose an archived chat and tag it.
And now that you know how the integration works let’s move to the part where you get to set all that up. Don’t worry though! We will guide you every step of the way.
Autopilot LiveChat: Installation
The installation consists of three steps:
- Linking LiveChat account with Autopilot;
- Mapping your pre and post-chat survey fields with the one corresponding with Autopilot;
- Specifying which LiveChat tag should add new Contact to your Autopilot and to which Journey this Contact will be added.
First of all, we need to link your LiveChat account with Autopilot. To do that, follow a few simple steps below!
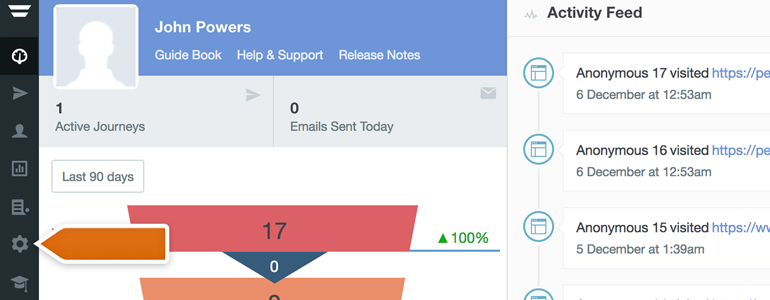
- First, log into your Autopilot dashboard and go to Settings.
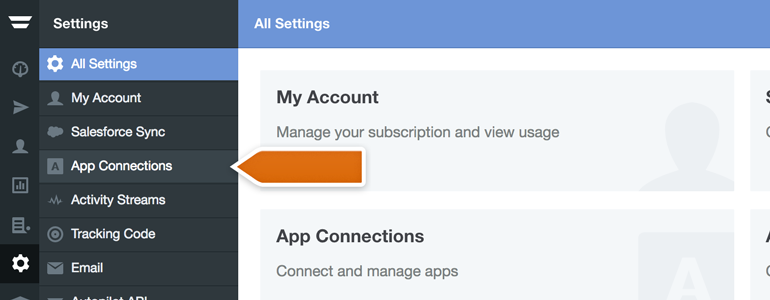
- Go to App Connections, available under All Settings section.
- Choose LiveChat from the list of available App Connections.
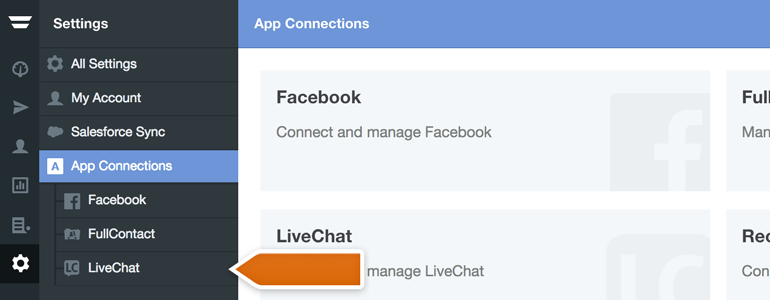
- To proceed, click on Connect to LiveChat.
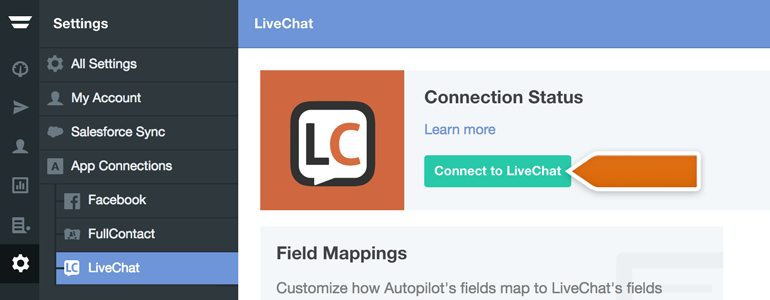
- You will be asked to log into your LiveChat account. Provide your LiveChat credentials and click on Allow to grant Autopilot access to your LiveChat.
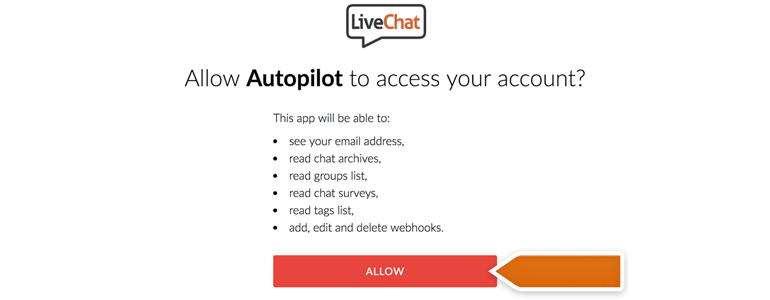
And you’re done! From the chapter below, you will learn how to map your pre and post-chat survey fields with Autopilot.
Autopilot LiveChat: map your chat surveys with Autopilot
Now that the integration is ready, you need to decide which fields from your pre and post-chat surveys will be assigned to corresponding fields at Autopilot.
That allows you to equip each new contact added to your Journey with information gathered from your chat surveys.
- Once LiveChat is connected with Autopilot, click on Field Mappings.
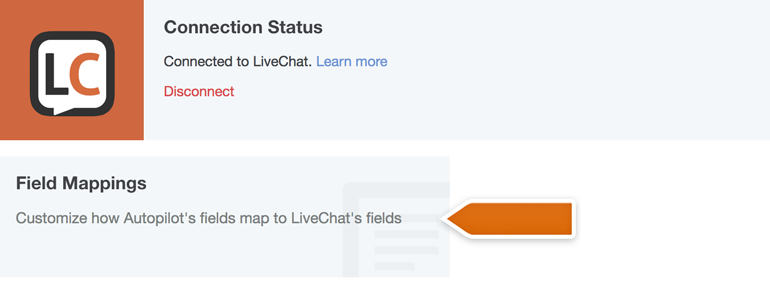
- Now map fields from your LiveChat with corresponding fields at Autopilot.

- Click on Update Field Mappings to finalize the process.
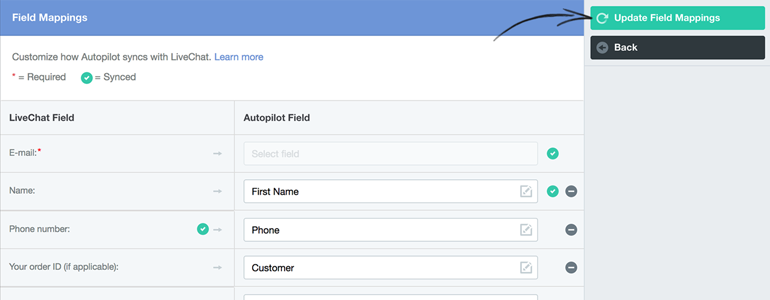
And that’s it! There’s only one step ahead of you: choosing which of your LiveChat tags will add a person who you are chatting with, triggering a Journey in Autopilot! To do that, check out the chapter below.
Autopilot LiveChat: choose a tag that will trigger a Journey
This is the final step of this tutorial. After completing it, LiveChat will know which tag should add a new Contact to Journey at your Autopilot. Without further due, let’s take care of it!
- First, go to Journeys section available in your Autopilot.

- From there, choose a Journey that will be triggered by LiveChat tag.
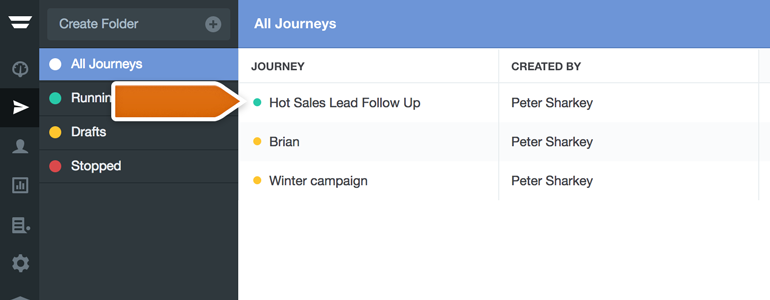
- Now choose LiveChat tag from the list of available triggers.
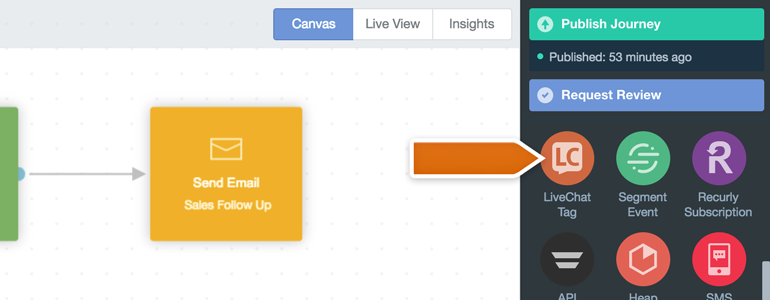
- Click on LiveChat tag trigger to choose which tag will trigger a Journey.
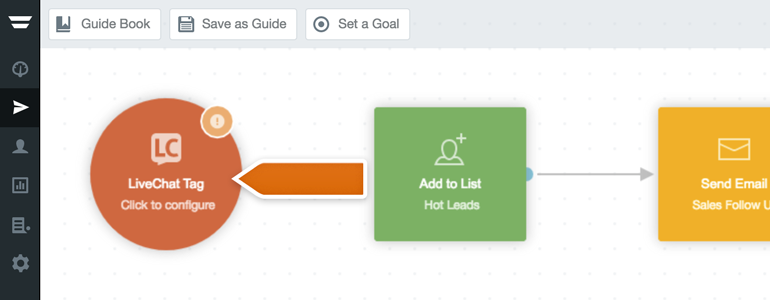
- All that is left is to choose a tag from the available list.
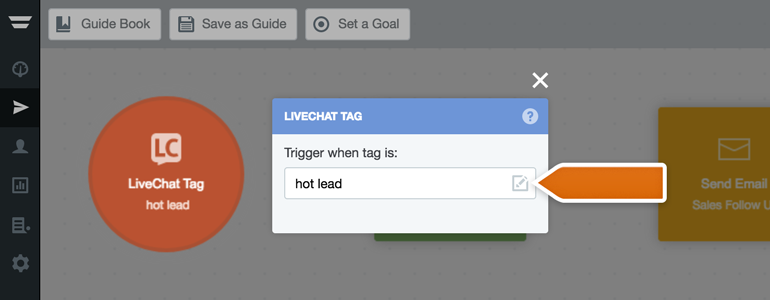
And you’re done! Remember to link your new trigger with an action and to Publish your updated Journey afterward.
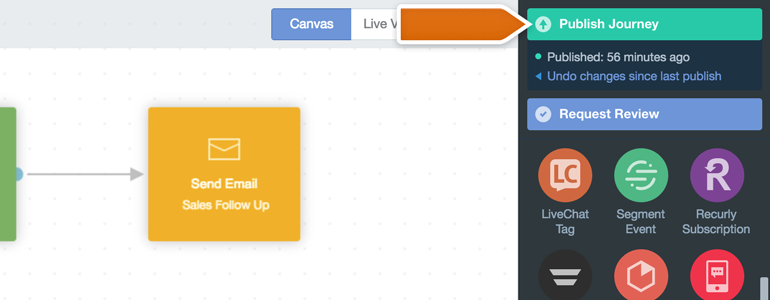
And that’s it! Autopilot integration is now ready.
Don’t forget to check out our full list of available integrations. Also, in case of any questions, feel free to start a chat with us - we are available 24/7/365!

